
Table of Contents
- Introduction
- Why This Topic Matters
- Quick Answer
- Who This Guide Is For
- Step-by-Step Instructions
- Extended Walkthrough: Setting Up a Spec-Compliant Template
- Understanding Why YouTube Enforces These Limits
- Common Export Mistakes That Inflate File Size
- Checking and Converting Existing Thumbnails
- Formatting, Compression and Design Best Practices
- Common Upload-Rejection Mistakes and Fixes
- Frequently Asked Questions
- Final Takeaway
Uploading a custom thumbnail and getting rejected, or worried yours looks blurry? Here's the exact dimension, aspect ratio, format, and file size YouTube requires — plus how to check any thumbnail's real resolution.
Introduction
Custom thumbnail requirements on YouTube are stricter than most creators expect, and getting the specs wrong is one of the most common reasons an upload gets rejected — or worse, quietly published at a soft, blurry quality that nobody ever fixes. The good news is the rules are simple to follow once you know them, and this guide gives you the complete spec sheet plus a repeatable workflow so you never have to guess again. Here's what this guide covers: the exact pixel dimensions YouTube recommends, the minimum acceptable size, the aspect ratio that keeps thumbnails from getting cropped, the file formats that are allowed, and the file-size ceiling that causes more rejections than any other factor. We'll also explain why YouTube enforces these limits and how to rescue an existing thumbnail that's the wrong size or format, with links to free tools that resize, check aspect ratios, optimize file size, and download thumbnails for inspection.
Why This Topic Matters
A thumbnail that's the wrong resolution doesn't just risk rejection — even when YouTube accepts it, an undersized image gets upscaled to fit display surfaces, and that upscaling softens fine details, especially text and faces. In a feed full of sharp, high-contrast thumbnails, a slightly blurry one reads as lower quality before the viewer has even clicked, quietly depressing click-through rate. File size matters just as much. YouTube applies the 2MB cap uniformly to keep thumbnail loads fast, so an image that's technically within dimensions but bloated in file size will still be rejected — a distinction that confuses creators whose perfectly sized image won't upload. Getting both the pixel dimensions and the file size right from the start turns a frustrating trial-and-error process into a five-second export.
Quick Answer
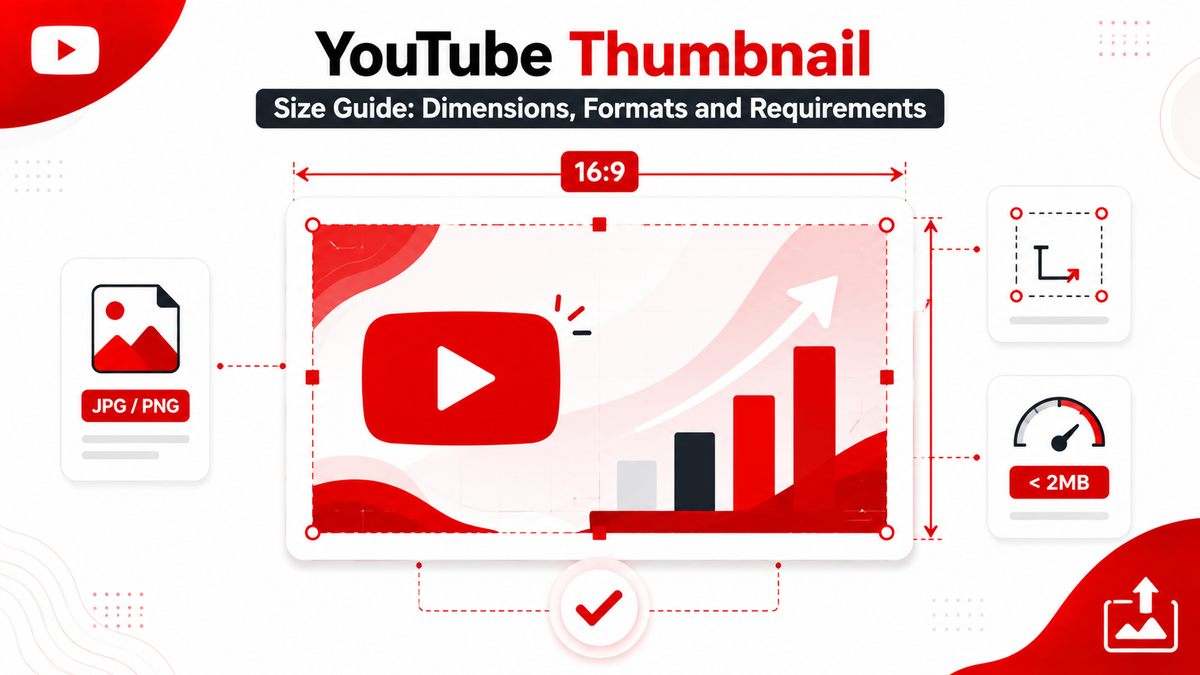
YouTube's recommended custom thumbnail size is 1280×720 pixels at a 16:9 aspect ratio, with a minimum width of 640 pixels. Accepted file formats are JPG, PNG, GIF, and BMP, and the file must be under 2MB regardless of format or resolution. If you already have a thumbnail but aren't sure it meets the spec, run it through the free Thumbnail Resizer to convert it to a compliant 1280×720 JPG or PNG in seconds.
Who This Guide Is For
- First-time creators getting hit with a rejection they don't understand
- Designers who need exact specs before building a reusable template
- Editors and video managers troubleshooting rejected uploads or blurry thumbnails
- Agencies and multi-channel teams that need a standardized thumbnail spec so different people produce consistent output
- Anyone repurposing existing images who has a great graphic but no idea whether it's the right size, ratio, or format
Step-by-Step Instructions
- Design or export your thumbnail at exactly 1280×720 pixels. Any 16:9 resolution works, but 1280×720 is the sweet spot — large enough to stay sharp, small enough to stay under the 2MB cap.
- Save the file as JPG, PNG, GIF, or BMP. JPG is the default for photographic thumbnails; PNG is worth it only if you need transparency.
- Confirm the file size is under 2MB. If it's over the limit, compress it or run it through the Thumbnail File Size Optimizer before uploading.
- Open the video in YouTube Studio and click into the video details for the relevant upload.
- Click the custom thumbnail upload area, select your file, and let YouTube process it.
- Preview it at actual feed size — not at full resolution — before publishing. What looks crisp zoomed in can look cluttered or blurry at the ~168-pixel width thumbnails render at in many placements.
- Publish and spot-check your video on the homepage, in search, and on your channel page.
If you want to skip the guesswork entirely, the Thumbnail Resizer handles steps 1 through 3 in one go: it converts any image to a compliant 1280×720 JPG or PNG, corrects the aspect ratio, and keeps the file under the upload limit.
Extended Walkthrough: Setting Up a Spec-Compliant Template
The most reliable way to eliminate resolution and file-size problems permanently is to build a locked template once and never deviate from it. In whatever design tool you use — Canva, Photoshop, Figma, or a free alternative — create a new document with a canvas locked to exactly 1280 by 720 pixels at 72 or 96 DPI. Higher DPI settings don't improve how YouTube renders the image; they only inflate the file size. Save this as a dedicated thumbnail template and duplicate it for every new thumbnail rather than resizing an unrelated canvas down to fit, which can introduce scaling artifacts. Keep the safe zone in mind while you design. Because YouTube crops thumbnails in some placements and overlays elements like the duration badge in the corners, keep critical content — faces, headlines, logos — away from the edges, roughly 50 to 75 pixels of breathing room on each edge of a 1280×720 canvas. Whatever slight cropping YouTube applies, your message stays intact. When you're ready to export, use your design tool's "export for web" or equivalent compressed option rather than a standard save. These options balance visual quality against file size and will typically land a 1280×720 photographic thumbnail well under the 2MB limit without visible quality loss. Name exports with a convention that includes the dimensions — thumbnail-1280x720.jpg — so the specs are never a mystery later.
Understanding Why YouTube Enforces These Limits
Knowing the reasoning behind YouTube's numbers makes them far easier to remember. The 1280×720 recommendation matches the resolution at which thumbnails are rendered across the majority of surfaces on the platform — the homepage grid, search results, related-video sidebars, and end screens all display thumbnails at or below this size. Uploading anything larger provides no visible benefit, because no surface on YouTube renders a thumbnail above 1280 pixels wide; the extra resolution just inflates the file and pushes you toward the size cap. The 640-pixel minimum width exists as a quality floor. Images narrower than that are considered too low-res to display acceptably on larger surfaces, so YouTube rejects them outright rather than upscaling them into a blur. Images between 640 and 1280 pixels wide are accepted but upscaled to the display size, which is why they look softer than a full 1280×720 image. The 2MB cap is an infrastructure decision. Thumbnails are served to viewers continuously, often before the video itself loads, and keeping them small keeps pages fast on slow connections — which also benefits creators, because thumbnails that load instantly keep viewers engaged during the critical first seconds.
Common Export Mistakes That Inflate File Size
Even a correctly sized 1280×720 image can exceed 2MB if the export settings are wrong, and file-size rejections are frustrating because the dimensions are clearly correct. The most common culprit is exporting a photographic thumbnail as an uncompressed PNG. PNG is lossless, which makes it excellent for graphics with flat colors and sharp edges — logos, text overlays, illustrations — but for photo-realistic images full of color gradation, it produces files several times larger than an equivalent JPG. A 1280×720 photo saved as a full-color PNG can easily balloon past the 2MB cap. Other quiet file-size inflaters include:
- Saving JPGs at 100% quality instead of the 80–90% range, which adds data for detail the eye can barely distinguish at feed size
- Embedding color profiles and metadata, like an sRGB profile plus camera EXIF data, adding kilobytes with zero visual payoff
- Using BMP, which is uncompressed and enormous; BMP is technically accepted by YouTube, but it's the fastest route to a file-size rejection
- Re-saving a JPG repeatedly, which accumulates compression artifacts while never shrinking the file the way a fresh export from the source would
The fix is to export from your working file in one clean pass at the right format and quality setting. If you have a finished image that's already oversized, run it through the Thumbnail File Size Optimizer, which recompresses it to stay under 2MB while preserving 1280×720 quality.
Checking and Converting Existing Thumbnails
Plenty of situations call for reusing an image that wasn't created as a YouTube thumbnail: you saved a great frame from an earlier video, a client sent over a logo card, or you spotted a thumbnail style you want to match. In all of those cases, the first step is knowing what you're working with before you try to upload it. To check the real resolution of any existing YouTube thumbnail, pull it with the Thumbnail Downloader and inspect the pixel dimensions of the image sizes it retrieves. This is especially useful for studying competitors: download one of their thumbnails and you'll know immediately whether it was exported as full 1280×720 HD or a lower-quality size. If the image is the wrong aspect ratio, don't try to force it — stretching a 4:3 or square image into a 16:9 frame distorts the content. Use the Thumbnail Aspect Ratio Checker to confirm the ratio, then either redesign the layout for 16:9 or add a background fill that pads the image out without cropping important content. For a quick start on legitimately grabbing an existing thumbnail to reuse or study, our guide on how to copy a YouTube thumbnail walks through the reliable methods, and the step-by-step iOS guide covers saving and reusing thumbnails directly on an iPhone.
Formatting, Compression and Design Best Practices
Once the technical spec is locked in, a few discipline-level habits separate creators who re-export three times per video from creators who upload on the first try.
- Design at 1280×720, never down to it. Building at the target size from the start avoids resizing artifacts and keeps text crisp.
- Keep a locked template file so every new thumbnail starts from a spec-compliant base, which is critical when a team produces thumbnails at different skill levels.
- Save a compressed JPG export specifically for upload, separate from your full-quality working file.
- Preview at actual feed size before publishing to catch clutter and unreadable text at the 168–320 pixel widths where thumbnails render.
- Don't confuse higher resolution with higher quality. At 1280×720 you've reached the ceiling of what YouTube renders.
- Standardize on the same format and quality across a channel so the channel looks consistent, which itself supports click-through.
Click-through rate is one of the signals YouTube weighs when deciding how widely to distribute a video, and a sharp, correctly sized thumbnail removes a technical reason for viewers to scroll past. For more on the creative side, see YouTube thumbnail best practices for CTR.
Common Upload-Rejection Mistakes and Fixes
When YouTube rejects a custom thumbnail, it usually doesn't tell you exactly why — it just fails the upload. That makes it worth memorizing the handful of causes that account for almost every rejection:
- Image below 640 pixels wide: Resolution below the minimum quality floor, Redesign and export at 1280×720 or at least 640×360
- File over 2MB: Exporting at high resolution, low compression, or a lossless format, Re-export as a compressed JPG or run it through the optimizer
- Unsupported format: WEBP, TIFF, SVG, HEIC, or RAW don't qualify, Save as JPG, PNG, GIF, or BMP
- Non-16:9 aspect ratio: YouTube crops unpredictably, cutting off content, Rebuild at 16:9 or pad the canvas to fit
- Thumbnail option missing: Custom thumbnails require a verified account, Verify your account in YouTube Studio settings
The blurry-after-upload symptom deserves its own mention because it's so common. If your published thumbnail looks soft, the almost certain cause is that the source image was below the recommended 1280×720 and got upscaled on the way out. There's no way to recover detail that was never there, so the fix is to replace it with a properly sized version — export at 1280×720 from a crisp working file and re-upload. Two myths also cause repeated confusion. First, "uploading a higher-than-1280×720 thumbnail makes it sharper" — it doesn't, because YouTube renders thumbnails at a maximum of 1280×720. Second, "there's no file size limit on thumbnails" — there is, and it's 2MB, applied uniformly regardless of format or resolution.
Final Takeaway
The complete YouTube thumbnail spec fits on one line: 1280×720 pixels, 16:9 aspect ratio, JPG/PNG/GIF/BMP, and under 2MB. Design at that size from the start, export with compression in mind, and preview at actual feed size, and you'll never lose another upload to a rejection screen or a soft, blurry thumbnail. When you're short on time or working with an existing image, let a tool do the checking for you — the Thumbnail Resizer converts any image to a compliant 1280×720 JPG or PNG in seconds, and the Thumbnail File Size Optimizer keeps every export safely under the 2MB cap. Nail the spec once, and every future thumbnail — and every future upload — gets easier.
Frequently Asked Questions
What is the correct YouTube thumbnail size?
YouTube recommends 1280×720 pixels using a 16:9 aspect ratio, with a minimum accepted width of 640 pixels.
What file formats does YouTube accept for thumbnails?
YouTube accepts JPG, PNG, GIF, and BMP files for custom thumbnails.
What is the maximum file size for a YouTube thumbnail?
Custom thumbnails must be under 2MB, regardless of format or resolution.
Why was my thumbnail upload rejected?
The most common reasons are a width below 640 pixels, a file size over 2MB, or an unsupported format like WEBP or TIFF.
Does a higher resolution than 1280x720 make my thumbnail look better?
No — YouTube doesn't display thumbnails above 1280x720, so uploading a larger file only increases file size without improving sharpness.
Can I upload a thumbnail that isn't 16:9?
Technically yes if it meets the minimum width, but non-16:9 images can get cropped unpredictably, so 16:9 is strongly recommended.
Why don't I have the option to upload a custom thumbnail?
Custom thumbnail uploads require a verified YouTube account; unverified accounts don't have access to this feature.
What's the difference between thumbnail resolution and video resolution?
They're independent — a thumbnail's pixel dimensions are set separately from the video file's resolution and follow YouTube's own thumbnail requirements.